How to get started with the bookdown package
Ever since I started working on my book R Without Statistics people have asked me for details on how I'm writing it. If your mental model for how a book gets written involves dozens of Word documents, you may be in for a surprise (my father certainly was).
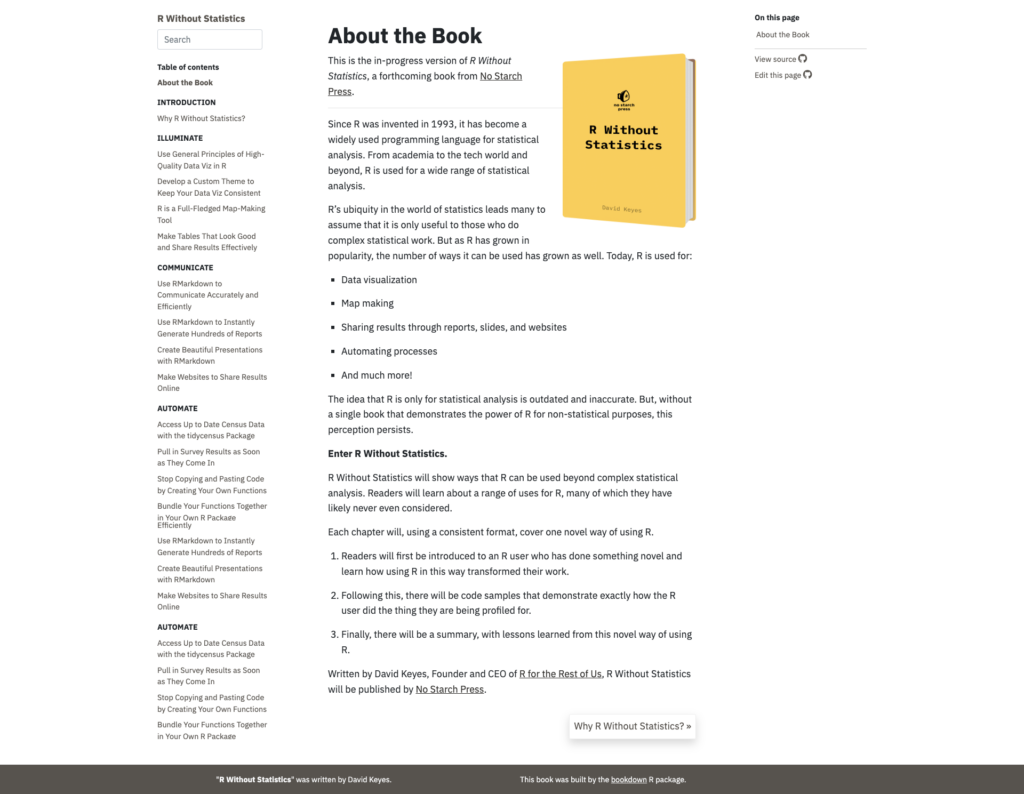
In writing R Without Statistics, I'm using the bookdown package. The bookdown package allows you to create a series of RMarkdown files, bundle them together, and create an online book like I've done with R Without Statistics.
I recently went through the process of creating a bookdown project when I started R Without Statistics. It involved a reading docs and tutorials, trial and error (more error than trial), and hours staring at my screen in frustration. So, I decided to write up what I've learned to help you avoid the same fate.
Each section below has one step in the process, going from installing bookdown to publishing your book (or report) live online using GitHub and Netlify. The video clip in each section starts at the point in the video show just that step. If you want to see the full video start to finish, it's at the bottom of the post.
Good luck and let me know if you have any questions by posting a comment below!
Install the bookdown package
The first thing you need to do is install the bookdown package. You do it like you would any other package.
Create a bookdown project
Next you'll want to create a new RStudio project to hold all of the materials for your bookdown project. When you do so, choose "book project using bookdown." You'll be able to select between the gitbook and bs4 themes (R Without Statistics uses the latter).
Take a look at the default bookdown content and learn how to render our book
When you create a new book project using bookdown, you'll get some default content. Understanding what the various .Rmd, .yml, and other files are is key. Let's take a look at the default content and understand how we can render this to create our book.
Look at the index.Rmd file
Now that we've seen the default content, let's modify it. First, let's look at the index.Rmd file. Here we can do things like change the title and author of our book and more.
Add and remove content
Creating a new bookdown project gives us default content. Let's now learn how to remove that and add our own content.
bookdown-specific YAML files: _output.yml
In your RStudio project, you have two YAML files that control the output for the entire bookdown project. These files are _bookdown.yml and _output.yml. The _bookdown.yml allows us to make changes, the most of important of which is setting the chapter order.
bookdown-specific YAML files: _output.yml
The second bookdown-specifc YAML file is _output.yml. In this file, we can change the look and feel of our book. In this video, I show how to change the primary color your book uses as well as make changes using custom CSS.
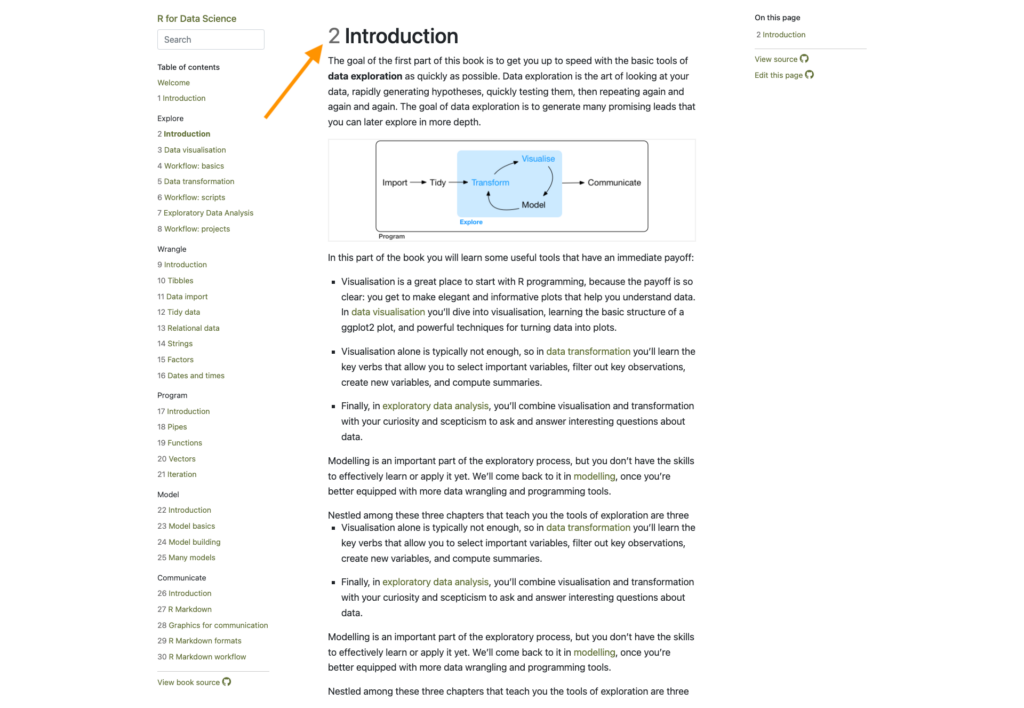
Remove chapter numbering
By default, bookdown adds numbers to chapters. You can see this in R for Data Science.
Sometimes, you may want to remove this numbering (I do so in R Without Statistics). To do so, you'll need to add the marker {-} to all headings if you're using the bs4 output format (if you’re using gitbook, you can do this in the _output.yml file).
Add section headings to bookdown
When you have a long bookdown book, you'll probably want to break it up into sections. I do this in R Without Statistics to break up the chapters into several sections.
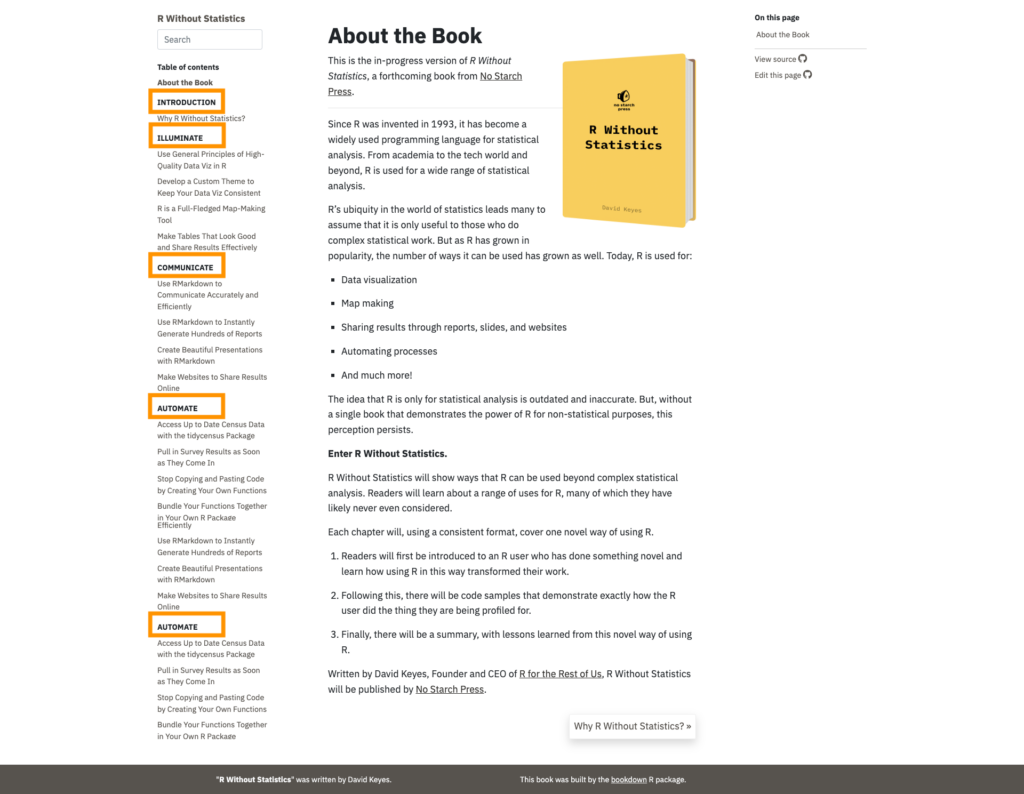
To do this in bookdown, you'll need to add content to the RMarkdown file that shows up immediately after the section break. Technically, bookdown refers to these "sections" as parts (see more info here), but no matter what they're called, here's how to create them.
How do you share your book?
Once you've learned how to create and customize a book using the bookdown package, you're probably wondering how to share it. There are many ways to do this, but the most effective (at least for projects that are public) is to post it online. To do this, you'll need to first post your code on GitHub (if you're new to this, check out this post on using Git and GitHub with R).
Render using Netlify
Now you've posted your code on GitHub. The problem, though, is that GitHub only shows the code, not the rendered versions of your code. You probably don't want your users to read the raw HTML that makes up a bookdown book. To enable them to see your book, we'll need to host our HTML files somewhere. My favorite service for doing this is Netlify. Netlify has a generous free tier that allows you to post your book project online. Here's how to do that.
Full video overview of the bookdown package
Ready to watch the whole video from start to finish to see how I created and altered a bookdown project? This video below is what you're looking for!
P.S. You can use bookdown for more than just books
Since the word book is in its name, you might assume that bookdown is just for books. Don't let that limit your thinking! In the past, I've turned reports that might have been, say, a 50-page PDF into a bookdown project. This lets readers easily flip between sections of the report using the links in the table of contents in the left sidebar. And, because, bookdown uses HTML under the hood, you can embed interactive elements into reports (think: maps with popups to show locations of important places).
No matter whether you're writing a book, report, or something else, knowing how to get started with bookdown can be tricky. I hope this blog post helps!
Sign up for the newsletter
Get blog posts like this delivered straight to your inbox.

You need to be signed-in to comment on this post. Login.